Pico E-ink Weather Display: Version 2 (or 2.9?)
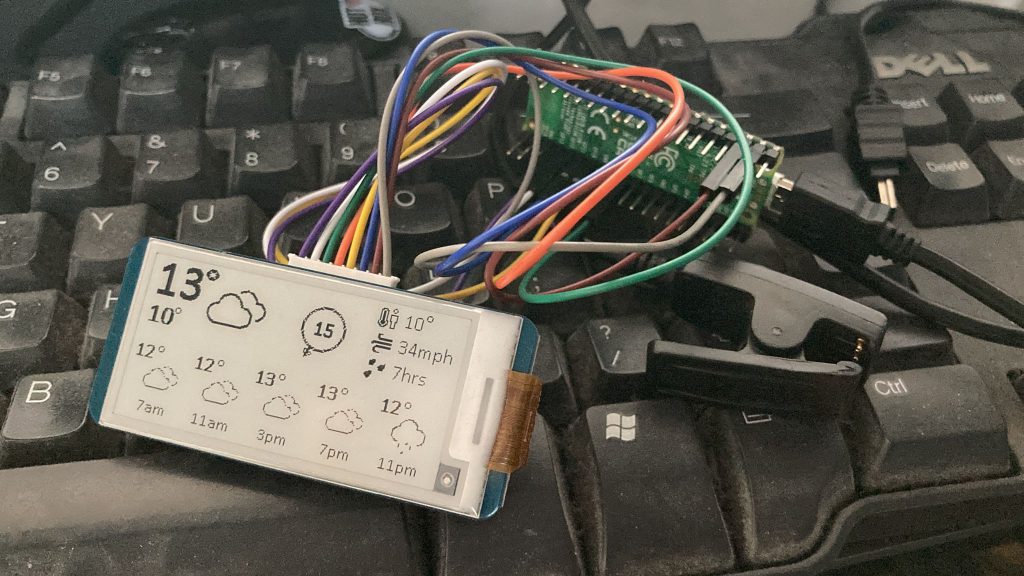
For my first Pico experiments I bought the smallest e-ink display I could, because it was the cheapest and who knows if I’d even pass the first hurdle of making a prototype. I’d also bought the wrong type, with a cable connection instead of a nice and easy Pico-compatible HAT. So I ended up with a little cable nest like this:

The display looked decent, barring some pixel tweaking on the icons, but I still thought that a slightly bigger display would be better at a glance. This time I bought the correct HAT type too, and 2.9inches seemed just a bit bigger, but not too big. The display also has red as well as black, but I didn’t plan to make use of it this time around. It crossed my mind that weather warnings might be good in red, but they might also be harder to see than black on white – which kind of defeats the purpose.
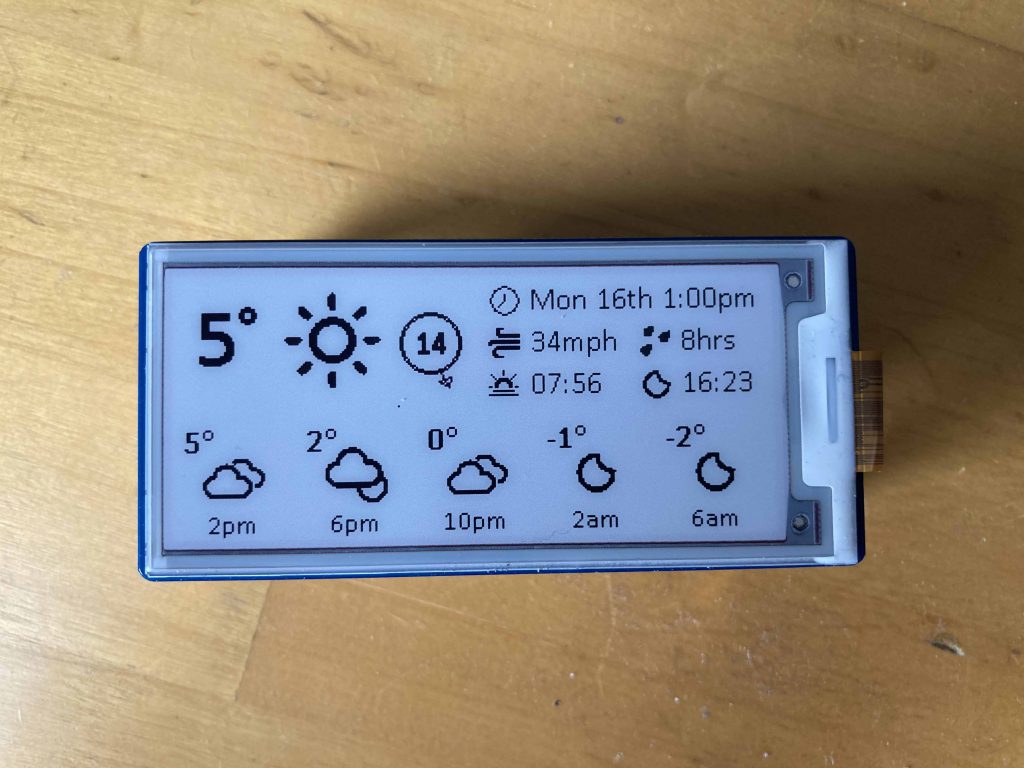
To cut lots of medium-length stories short, I also discovered I had a bit more space on the 2.9 inch display, so I added sunrise and sunset to the display, as well as spacing things out a bit more. The display is 296×128 pixels, which isn’t a lot more than 250×120, but I think the pixels are also a little bit bigger. It also helps that the “height” (128 pixels, or 128 bits) is a whole number of bytes, so my rotation fudge doesn’t result in the top left of the screen being at coordinate (0,6). The 2.9b “driver” file worked straight out of the box this time too. On the other hand, if I’d bought the right display the first time I wouldn’t have learnt as much.
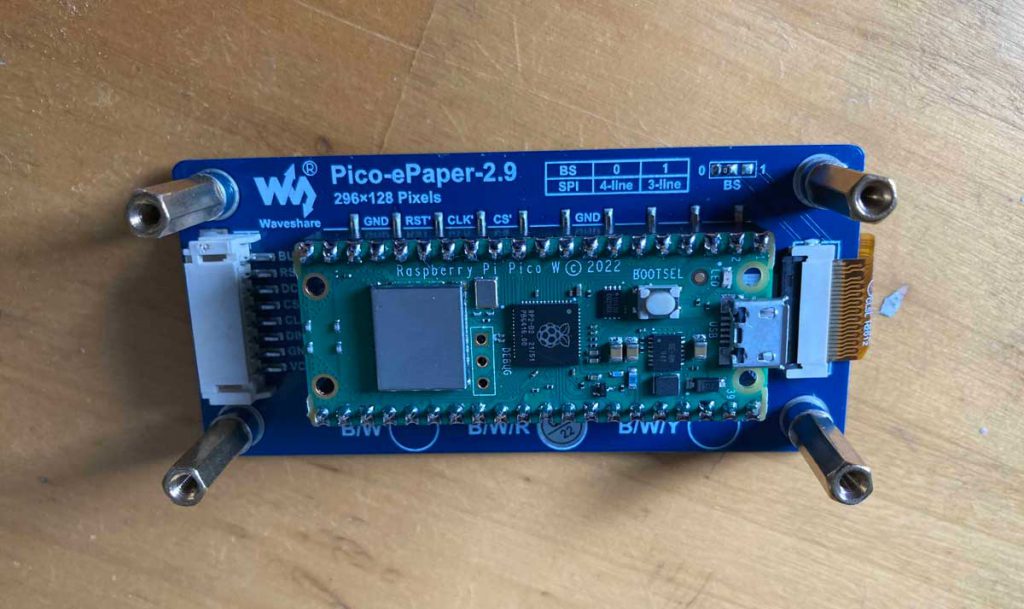
The HAT fits pretty nicely too:

And I’m quite happy with the end result (even if I’m not happy with the weather). I hand-tweaked a few of the images, such as the sunrise and sunset (as they’re only 16×16 and every pixel counts), but for the most part converting to 1-bit image at a 50% gray threshold looks good enough. Even with some of the text at exactly the same pixel height as on the 2.13 inch display it just looks a lot crisper:

The only thing left to do now is to try and frame it somehow so it doesn’t look like a scruffy bit of tech hanging by a USB cable in the hallway.