Getting Started With The Raspberry Pi Pico
The whole Raspberry Pi craze has passed me by before. Mainly because I have no competency whatsoever in electronics, and when it comes to using it just as a small computer I’ve had no need for one.
I don’t really know what drew me to the Raspberry Pi Pico, but it just looked like such a fun little thing to experiment with. I think it’s partly that it’s not just a small computer, because there’s no keyboard or mouse input, no monitor, and the only way to program it (that I know of so far) is through an attached computer. And with a very low power consumption it comes across more as a component to be used in something else than a mini-computer. Plus it can be programmed in Micropython, which is more-or-less a subset of the Python language with which I’m familiar (although no expert, but it looks pretty much the same as every other language to be honest).
But given my previously mentioned lack of electronics competency that alone wouldn’t be enough to lure me in, but the more I started to look at it the more it appeared that competency in electronics really wasn’t al that important. So many components, whether e-ink or LCD displays, cameras or motion sensors seem to be almost plug-and-play. Even I couldn’t mess that up.
Finally, I’d recently installed Hive Smart Radiators, and although the app is okay for controlling them, I’d been thinking how nice it would be to have small, unobtrusive controls for them in key rooms so it’s harder to forget to turn heating off in rooms that aren’t going to be used for most of the day, or turning them back on again if someone comes home early. I’d looked at cheap Android tablets that I could then build an app for, but for a kind of “at a glance” display I’d either have to have the screens always on, or look at something more expensive like OLED. Android, or cheap old model Apple tablets, just seemed like overkill, but also lacking in flexibility.
So a Pico looked fun and an avenue to explore, but where to start?
Starting Small: An E-ink Weather Display
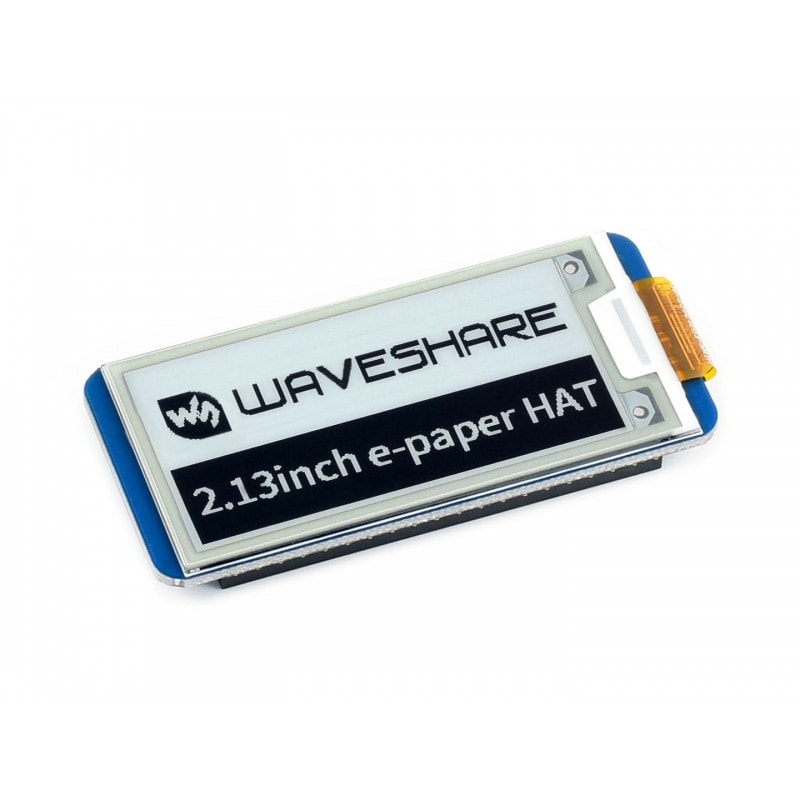
The thing that piqued my interest was tiny e-ink displays, like the ones from Waveshare. I knew they’d be low power and ideal for infrequently updated displays, and although maybe not quite what I wanted for smart radiator controls (but then maybe they will be), I couldn’t get the idea of building something with one out of my head.
I decided I’d start with something smaller than a heating controller and settled on a weather display. My partner is always asking me if she’s going to need an umbrella that day, despite having a smartphone sitting in front of her, so I could kid myself it would be useful to install by the front door. Plus, some of the first search results I’d pulled up when looking at how hard it might be to program an e-ink were weather displays. (Albeit for a Raspberry Pi, not the Pico, and with a larger screen than I was planning. But it was some working code to give me direction.)
I had my project, and it looked achievable, so I just needed to buy some kit and start playing.
Buying The Right Equipment
In trying to buy just a Pico and an e-ink display my lack of knowledge almost set me back. Just in time, I realised that I needed a Pico W, which is a Pico with an onboard wifi controller, otherwise my weather display wouldn’t be able to retrieve weather information. (Although it’s possible to add an external controller, it’s much easier just to have it there at the start.)
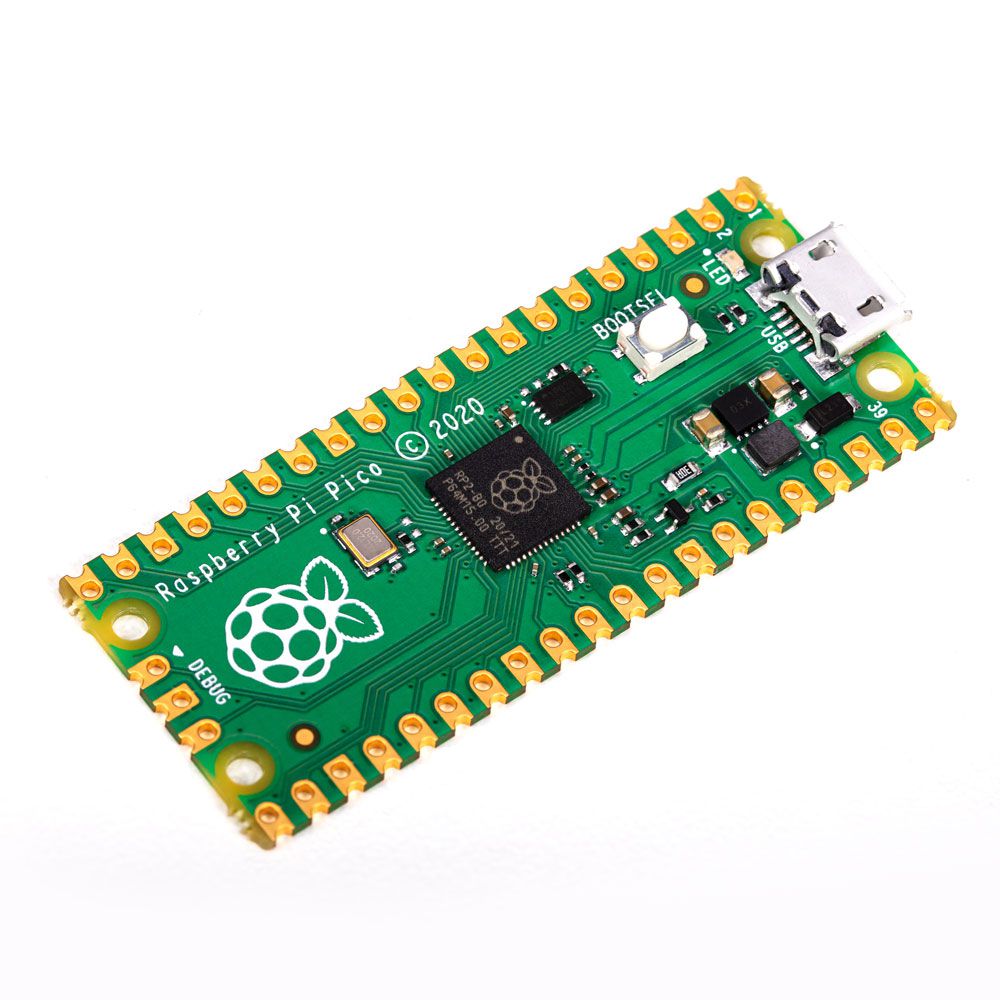
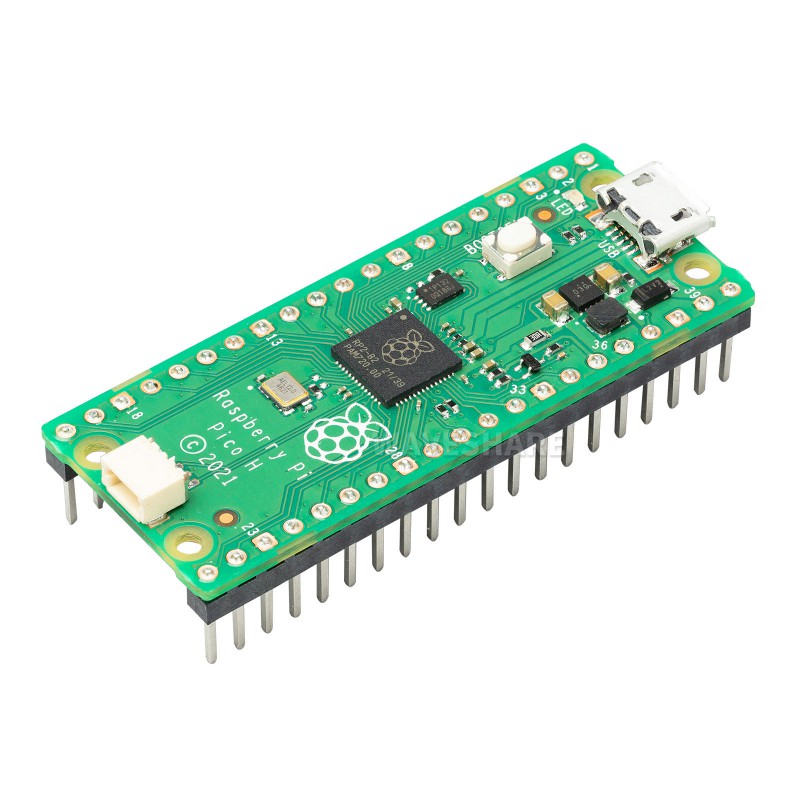
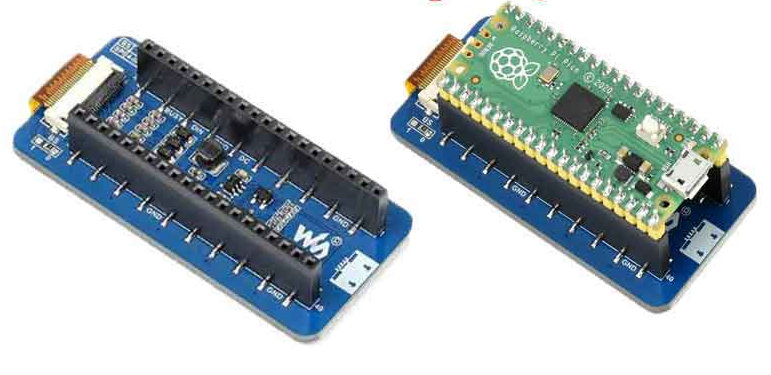
Secondly, I needed a Pico with soldered headers to make the connection to the display much easier. In fact, as I don’t (yet) own a soldering iron, it was the only way to make the connection possible. The Pico with soldered headers costs a few pounds more, but easily worth the extra convenience. As shown in the image below, the headers are the “spikes” that make it easy to attach cables or other devices.
I knew then that if I bought an e-ink display with a HAT connection (which apparently stands for “hardware attached on top” and is easy to remember because it really does look lik you’re putting a hat on it) all I’d have to do is drop it on top.
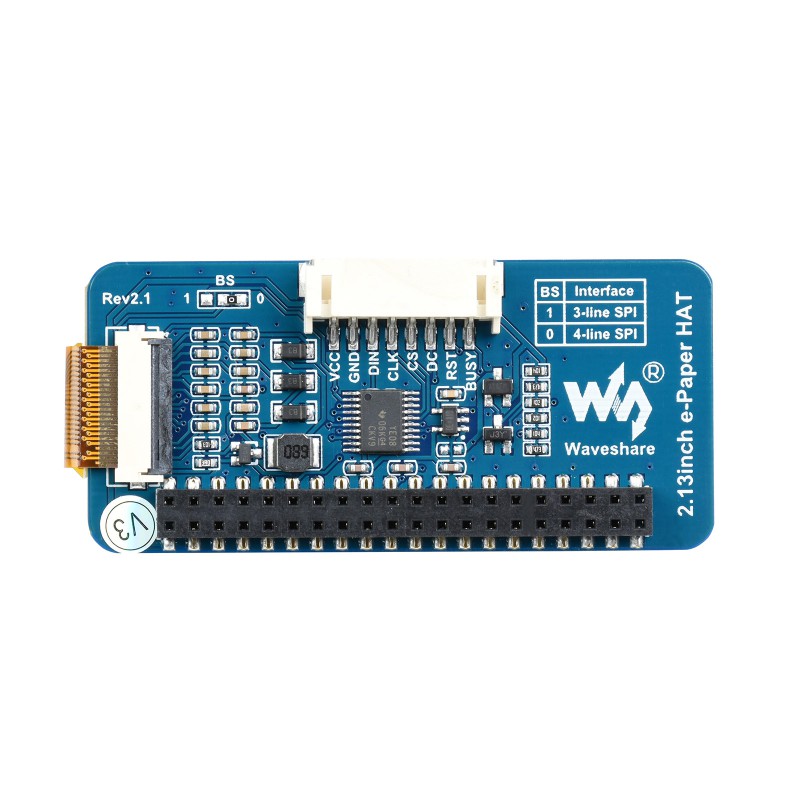
The first confusion came when I tried to attach the two. The Pico had two rows of pins, but the display only had a single connection row. It had me stumped for a while, but then I worked out that I’d bought the wrong type of HAT. Apparently the e-ink display I’d bought hat a HAT configuration for a standard Raspberry Pi, not for a Pico.
This is what not to buy for a Pico:
Whereas what I wanted would attach like this:
It wasn’t a disaster, though as it also came with a cable connection. It just came down to working out how on earth to join the two things together.
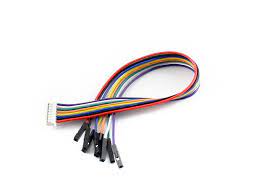
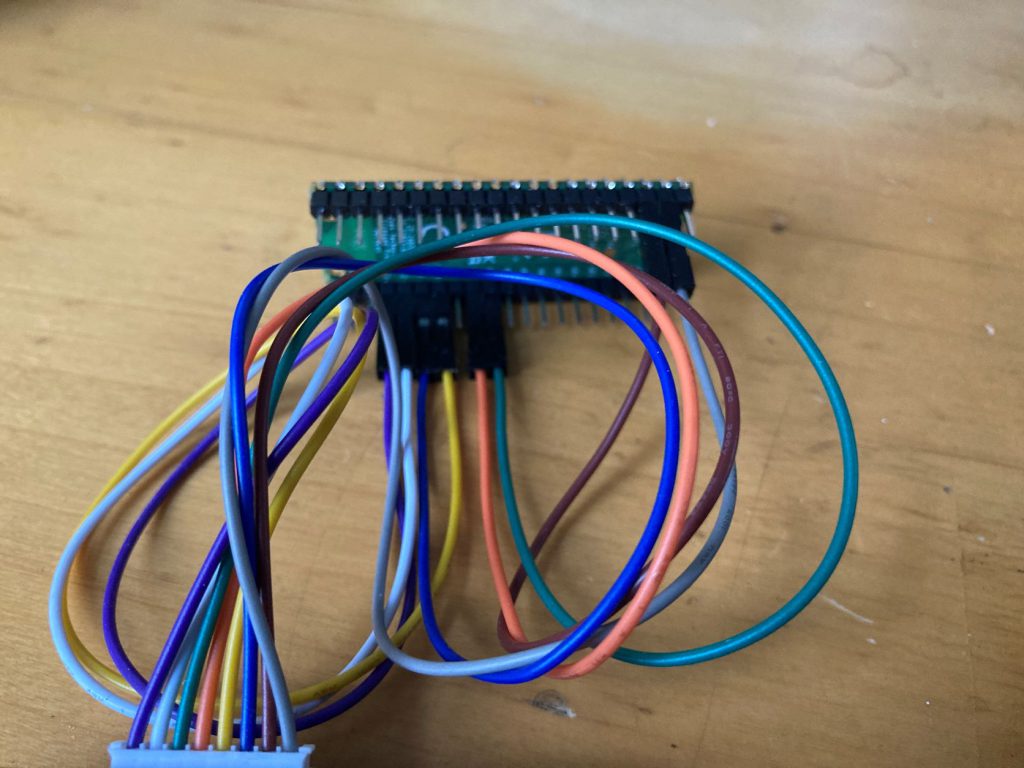
Googling for the connections wasn’t too hard, as it’s all on the Waveshare site, but connecting them was made harder than it should be due to failing close-up eyesight which meant that matching microscopic pin numbers on the Pico to coloured cables from the display wasn’t as easy as it could have been.
Installing the Micropython firmware and connecting to the Pico with the Thonny IDE was straightforward and I was able to run an example piece of code to turn the onboard LED on and off within a few minutes. But I had a feeling that getting the e-ink display to show anything was going to be a little harder. For various reasons, so it proved, but that’s going to be covered in the next post.